
Choosing an injection molding conveyor
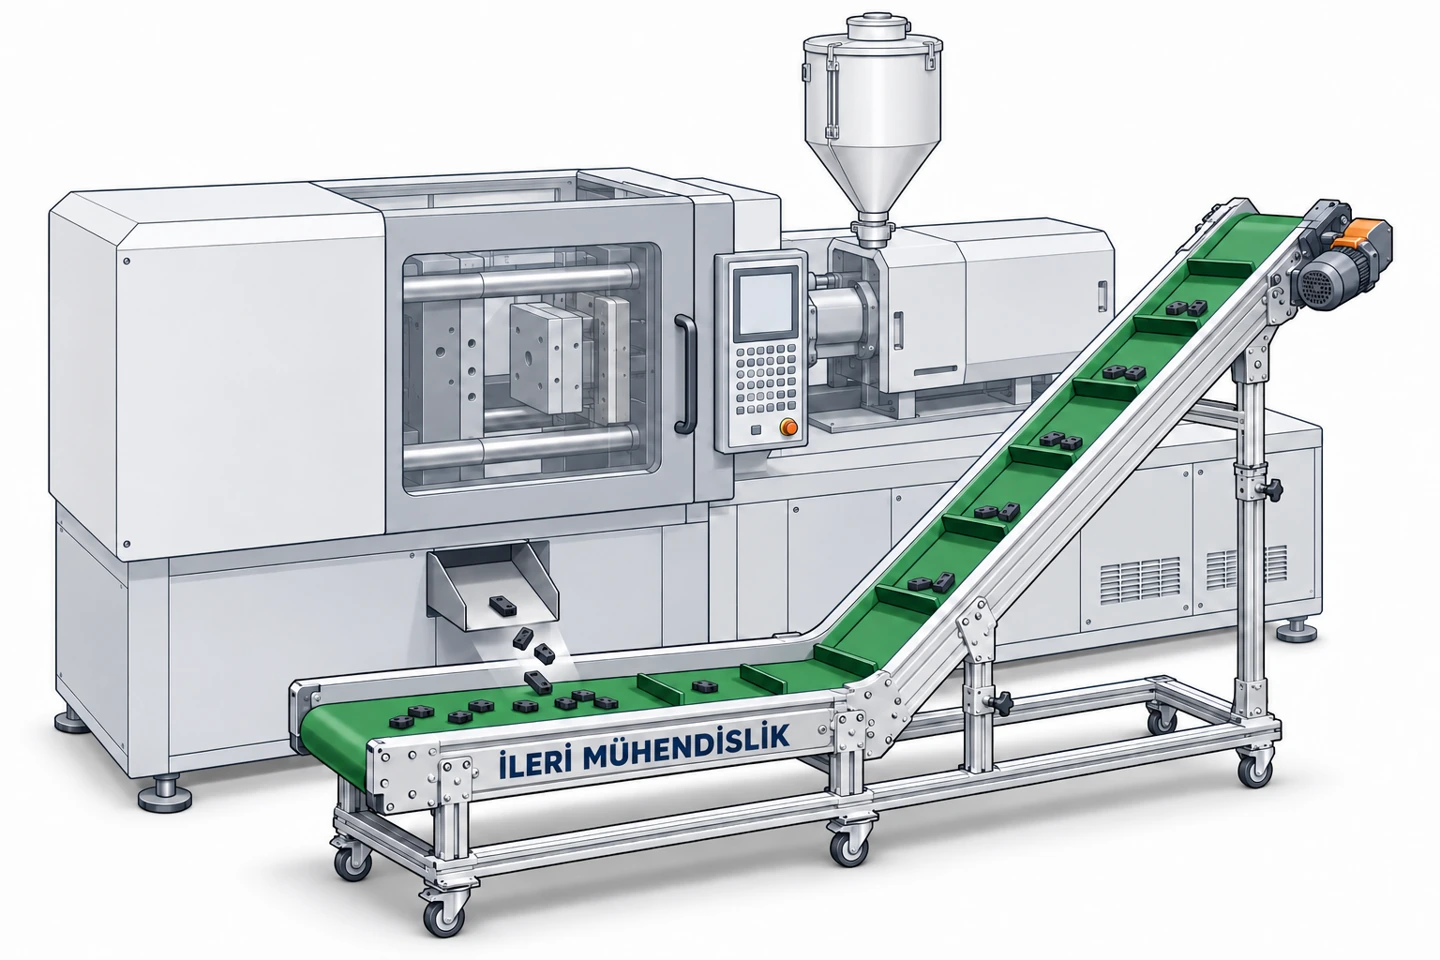
Start at the mold or robot discharge point and identify where the parts must arrive. A conveyor layout should connect those two points without interfering with access to the press.
Read guide →Practical guides for choosing, specifying and integrating injection molding conveyors.
Start at the mold or robot discharge point and identify where the parts must arrive. A conveyor layout should connect those two points without interfering with access to the press.
Read guide →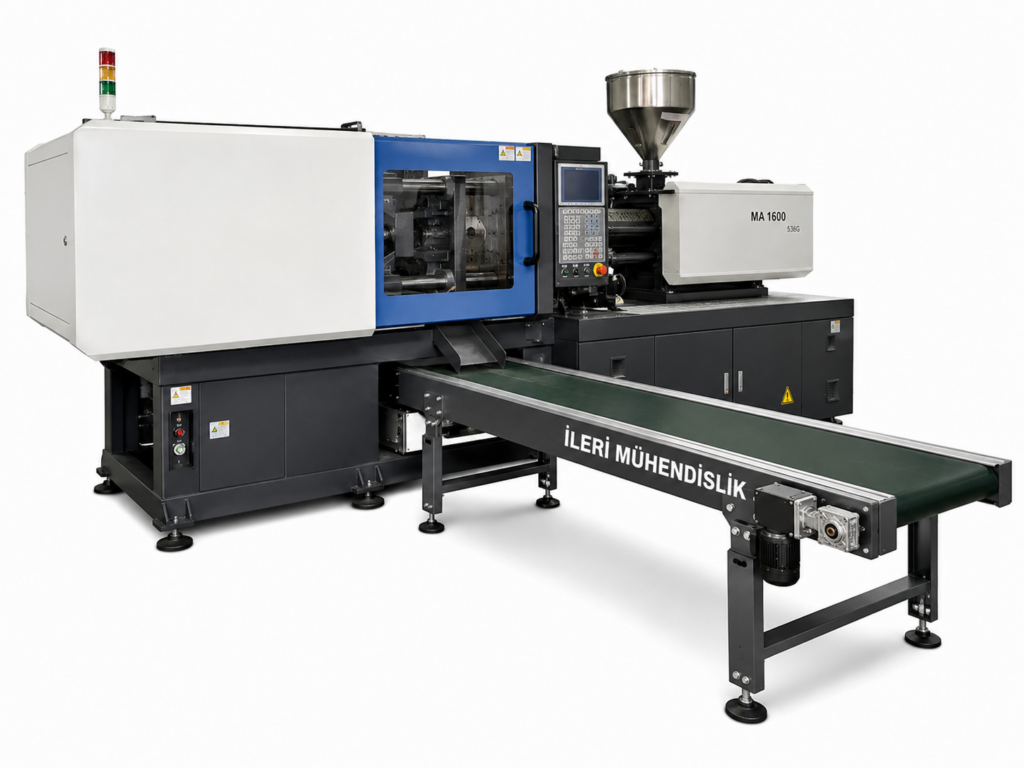
A press opening can be wider than the usable conveyor approach because of feet, trays, hoses and guards.
Read guide →
An L-type belt provides a horizontal receiving zone and one inclined section. It is a practical layout when the part must travel upward to a tote.
Read guide →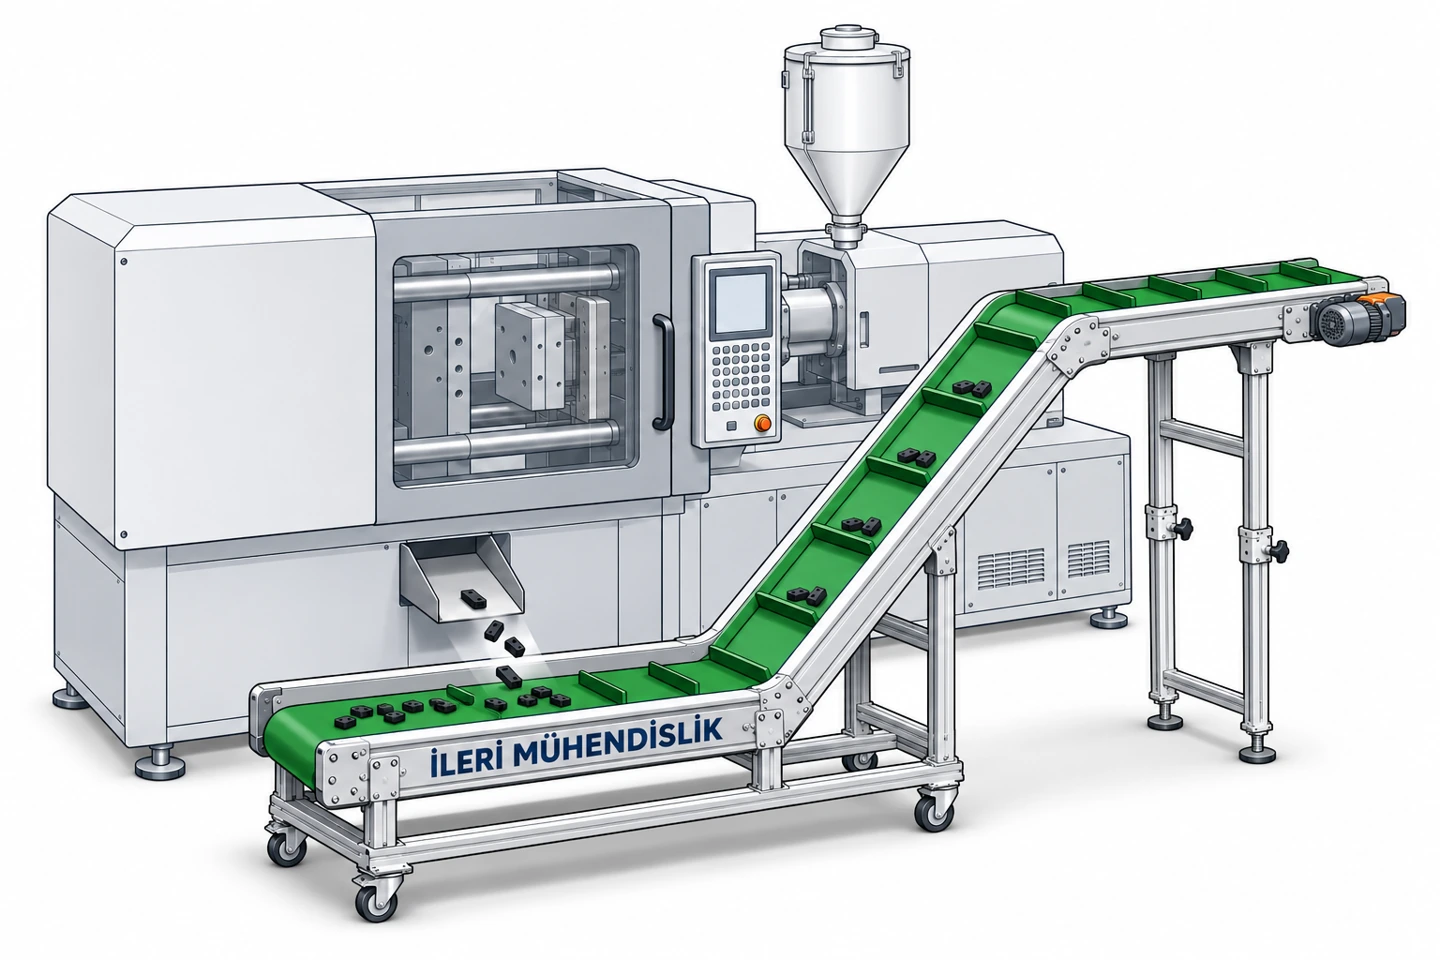
A Z-type conveyor combines a low intake, an incline and a flat elevated discharge. The upper flat section can provide a more predictable handoff to another conveyor or work table.
Read guide →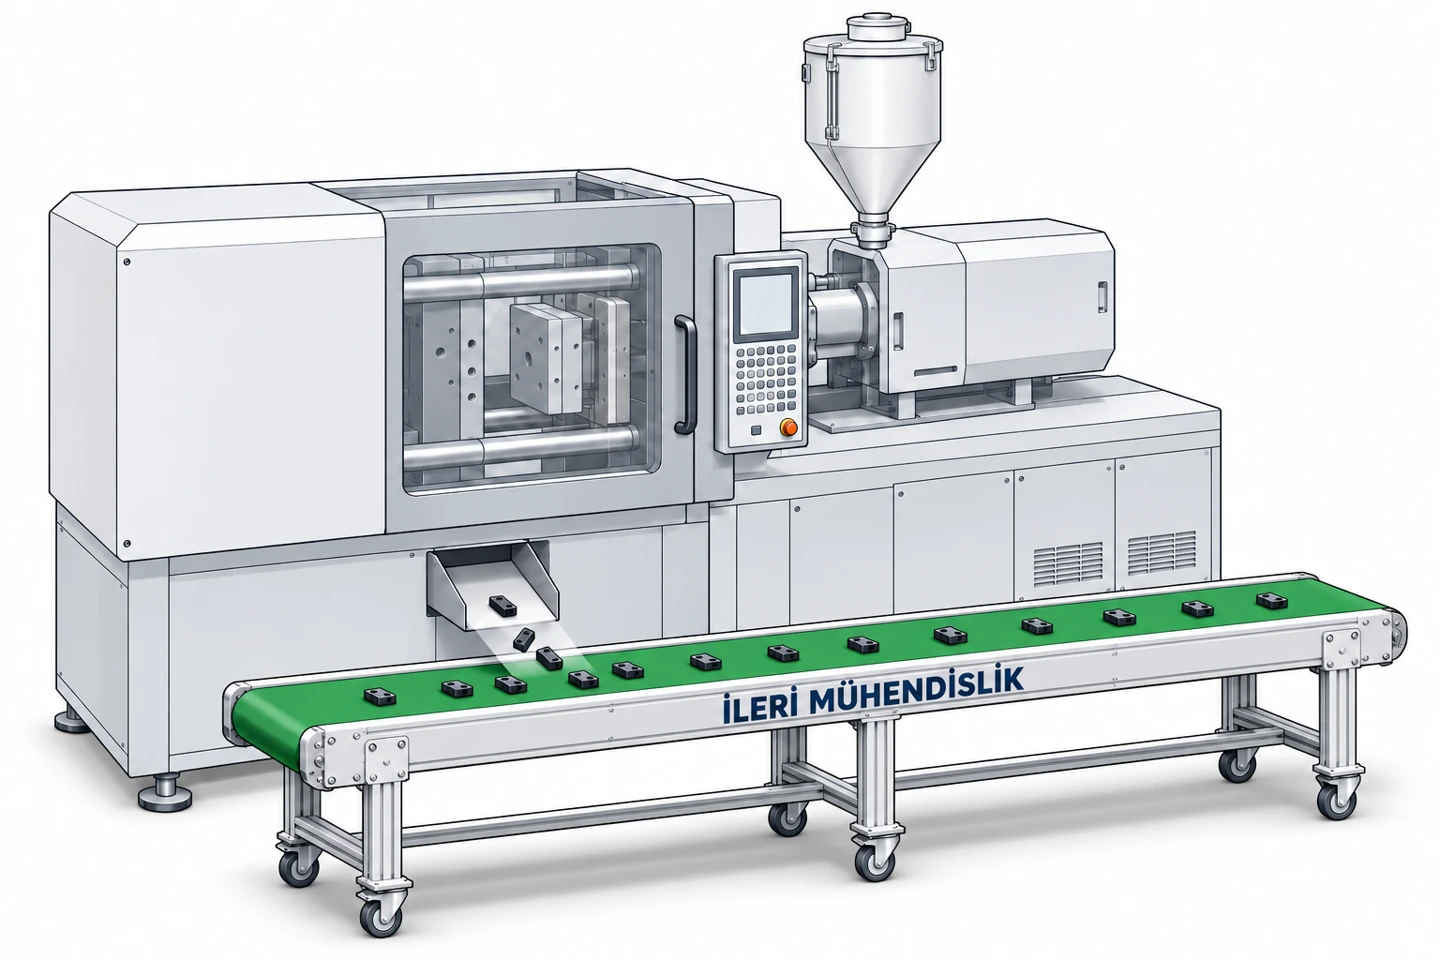
A straight conveyor suits transfers between stations at similar heights and can serve as a buffer between molding and inspection.
Read guide →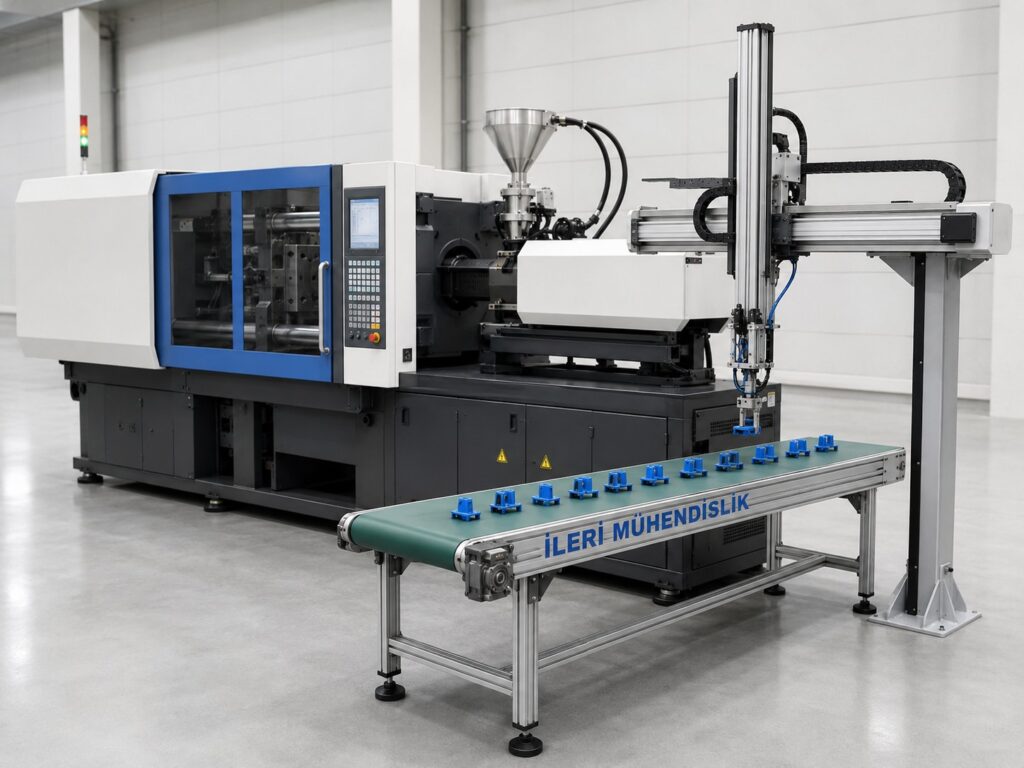
The robot placement pattern sets how much belt area is needed during each cycle. Parts placed in rows occupy a different footprint from parts dropped together.
Read guide →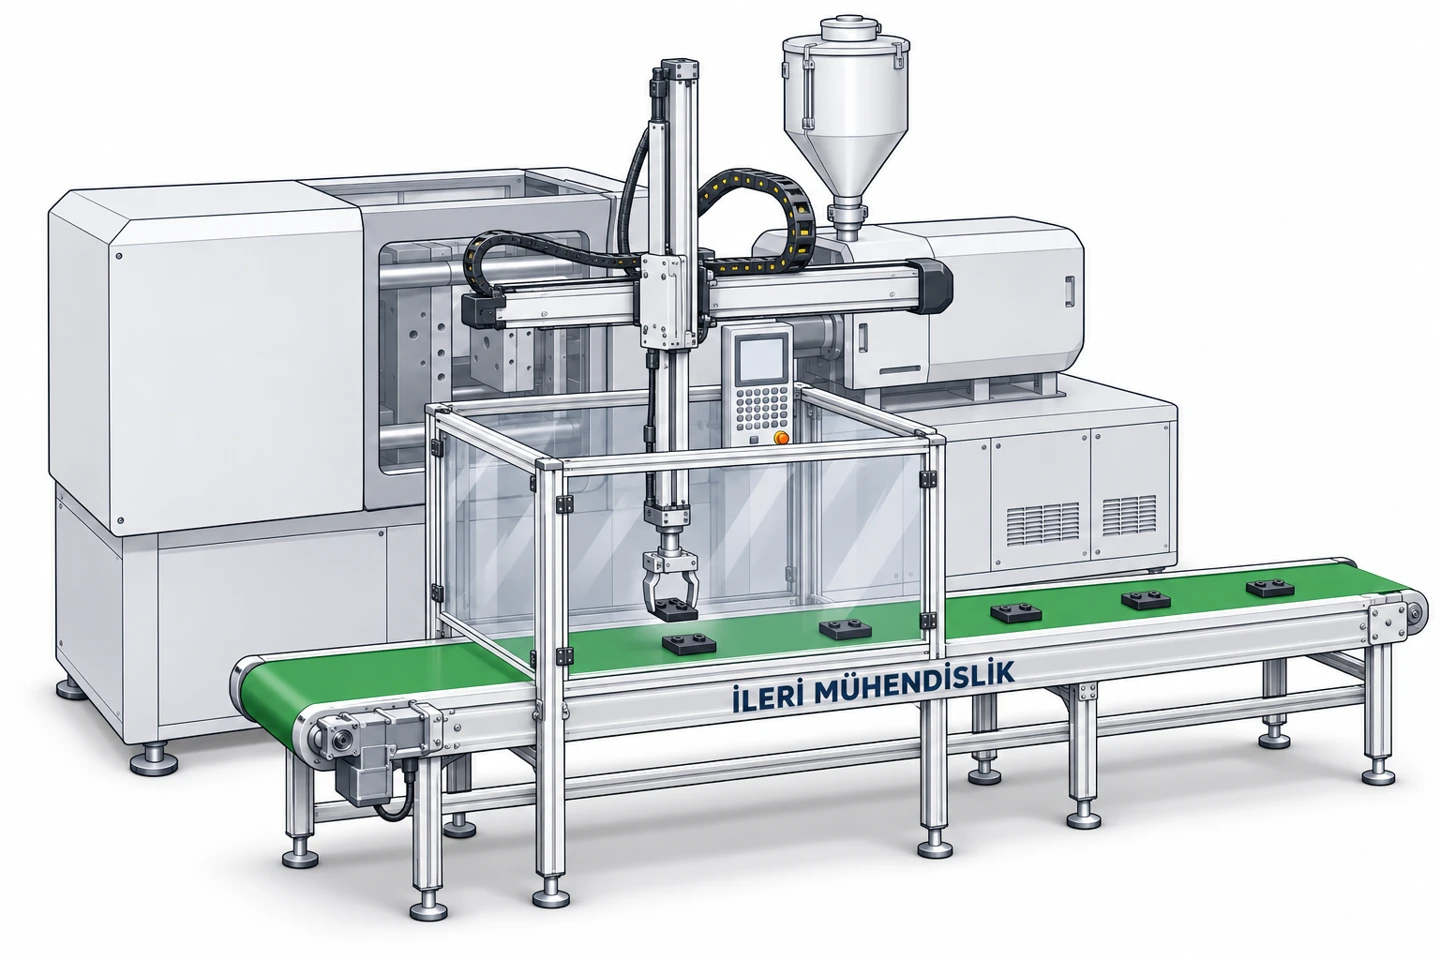
A conveyor handing parts out of a robot cell crosses the guarding boundary. The transfer opening and nearby access points belong in the cell layout.
Read guide →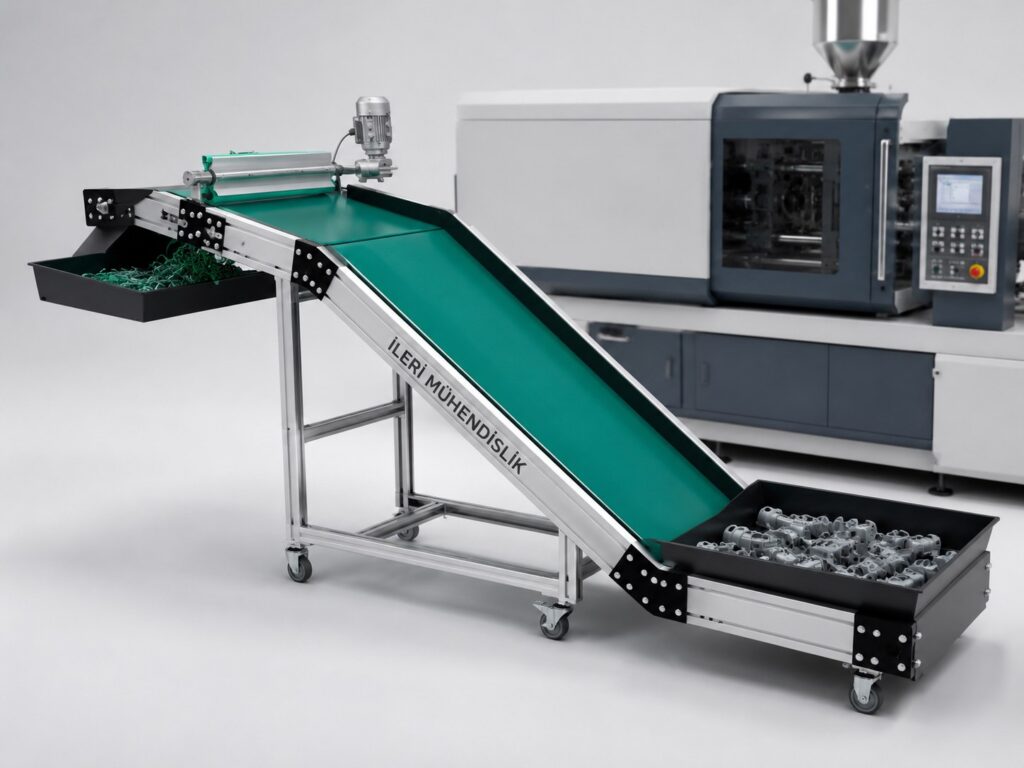
A separator routes molded parts and detached runners into different streams. The suitable method depends on how the sizes, shapes and orientations differ.
Read guide →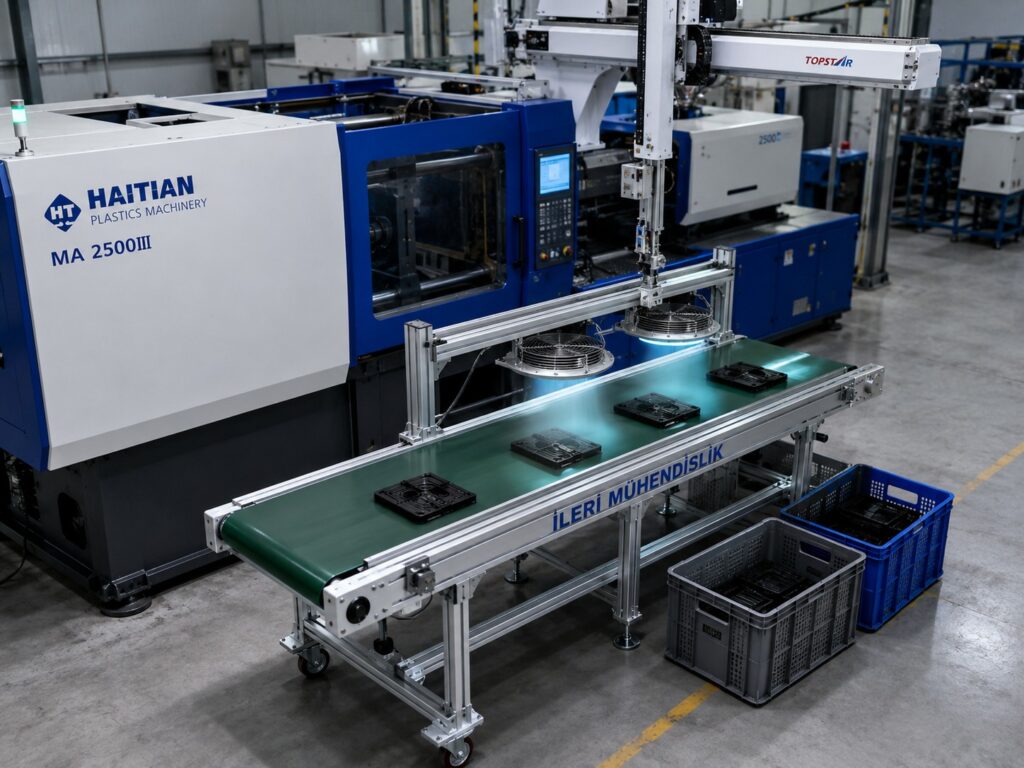
A fan-assisted belt can provide time and airflow between molding and handling. Part thickness, material and geometry influence how quickly it becomes ready for packing.
Read guide →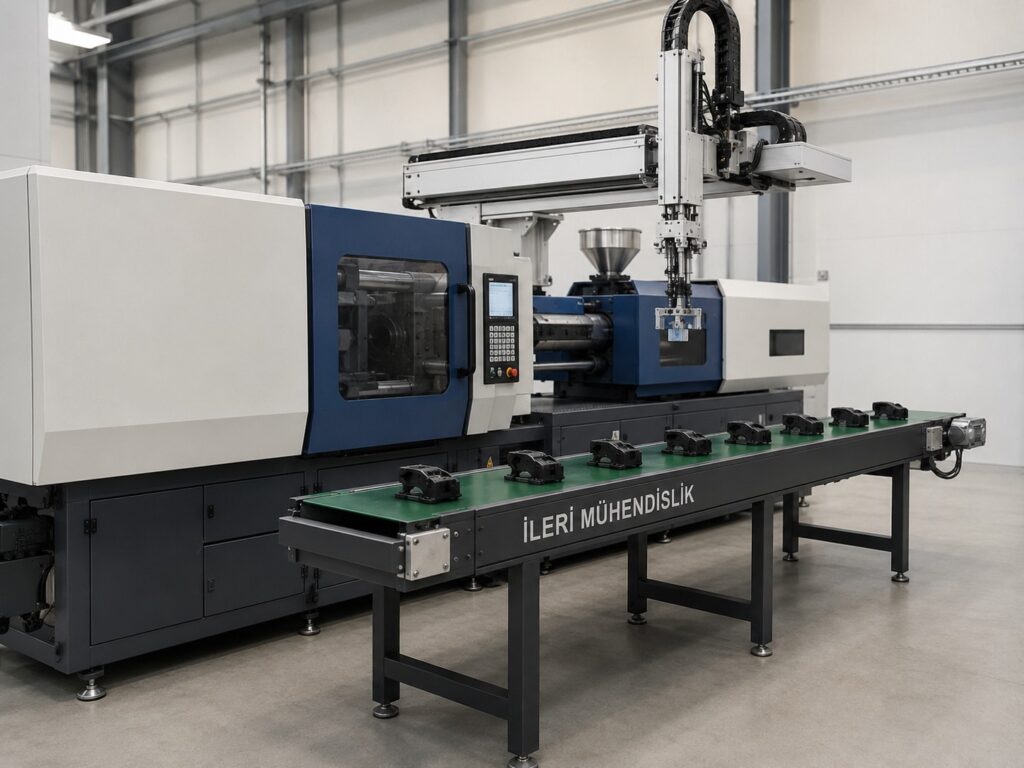
A continuous PVC belt provides a smooth carrying surface. Modular belts use interlocking links and have transfer characteristics that depend on the module and nose geometry.
Read guide →